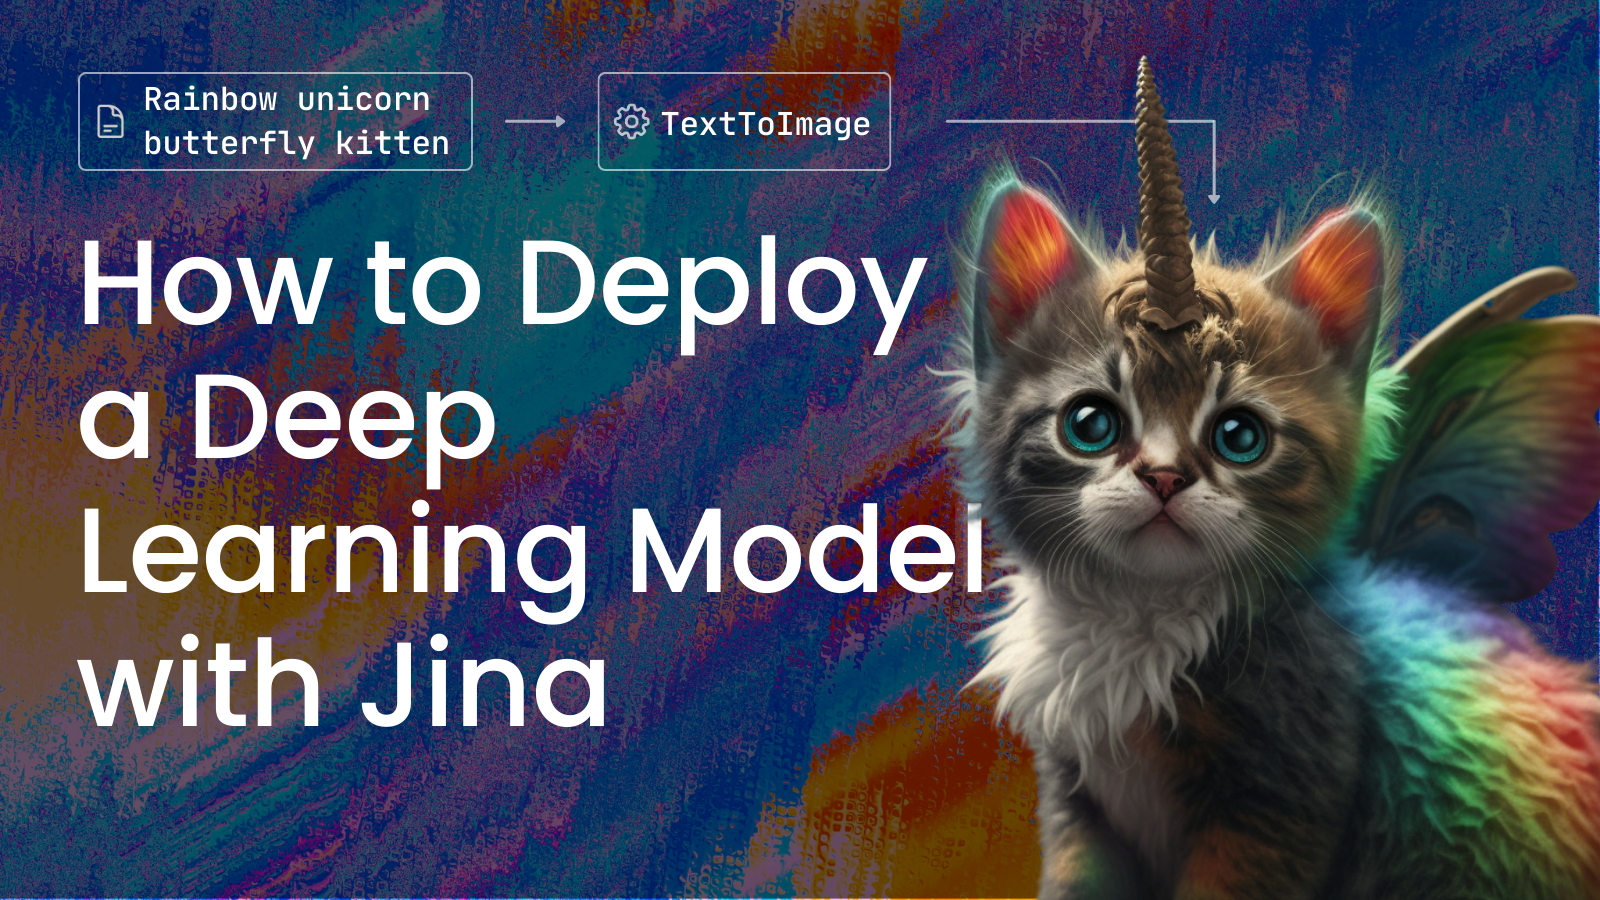
How to Deploy a Deep Learning Model with Jina (and design a kitten along the way)
How to build and deploy an Executor that uses Stable Diffusion to generate images.


Since the start of Jina, we've supported building Flows - namely pipelines of microservices. Now we're breaking those microservices out of the Flow and letting you deploy them stand-alone in the form of an Executor and Deployment.
In this post we’re going to do just that, building and deploying an Executor that uses Stable Diffusion to generate images.
Jina is ideal for this use case because it offers:
- Efficient networking and serialization with gRPC and protobuf
- Expressive/multimodal data types with DocArray
- Array-first concept - Batching input for model inference is key to increasing throughput
- Cloud-native features to easily ship ML models in production
Plus, keep your eyes peeled and your ears open for an upcoming version of JCloud, which will let you run your model Deployments on Jina’s cloud infrastructure for free.
Some backstory: the road to a cute kitten
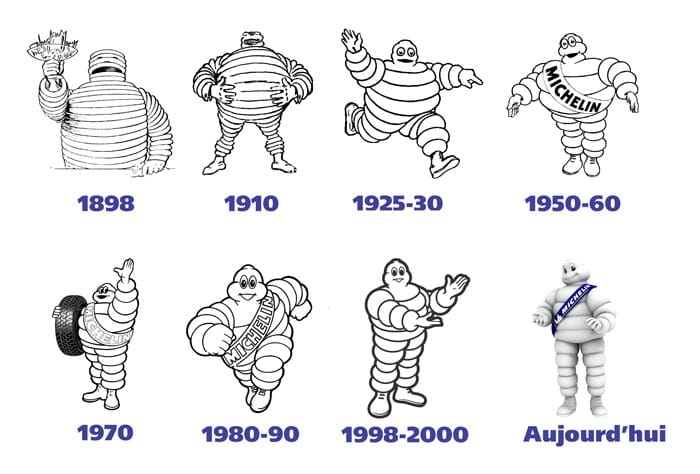
Some time ago the Jina folks got together for drinks (hey, it was a Friday. Or at least some day that ended with a ‘y’). We were talking about having a cute mascot like Octocat or The Michelin Man and after a few beers we really got to brainstorming.
Anyhow, the end result of that boozing brainstorming was “rainbow unicorn butterfly kitten.” Now, how could we actually create such a divine creature? Maybe we could sketch out our dreams:

In the end we decided to go with AI-powered image generation (what with genetic modification being unavailable, and gluing animals together into a Frankenkitty typically being frowned upon in polite society).
And what better way to generate Jina’s new mascot than with Jina itself? With that in mind, we got to work on an Executor and Deployment for image generation. So in this post we’ll walk through building a model into an Executor, deploying it, scaling it, and sharing it with the world.
There may also be kitten pics.
Building our Executor
When you deploy a service in Jina, it's always done in the form of an Executor. An Executor is a Python class that transforms and processes Documents, and can go way beyond image generation, for example, encoding text/images into vectors, OCR, extracting tables from PDFs, or lots more.
If you're just interested in using this Executor, rather than building it from scratch, you can jump straight to the Executor Hub section.
In this tutorial we'll focus on just the Executor- and Deployment-specific coding. We won't dive into the Stable Diffusion model's complexities, since that's simply a specific use case and we want this tutorial to be adaptable to any microservice or model.
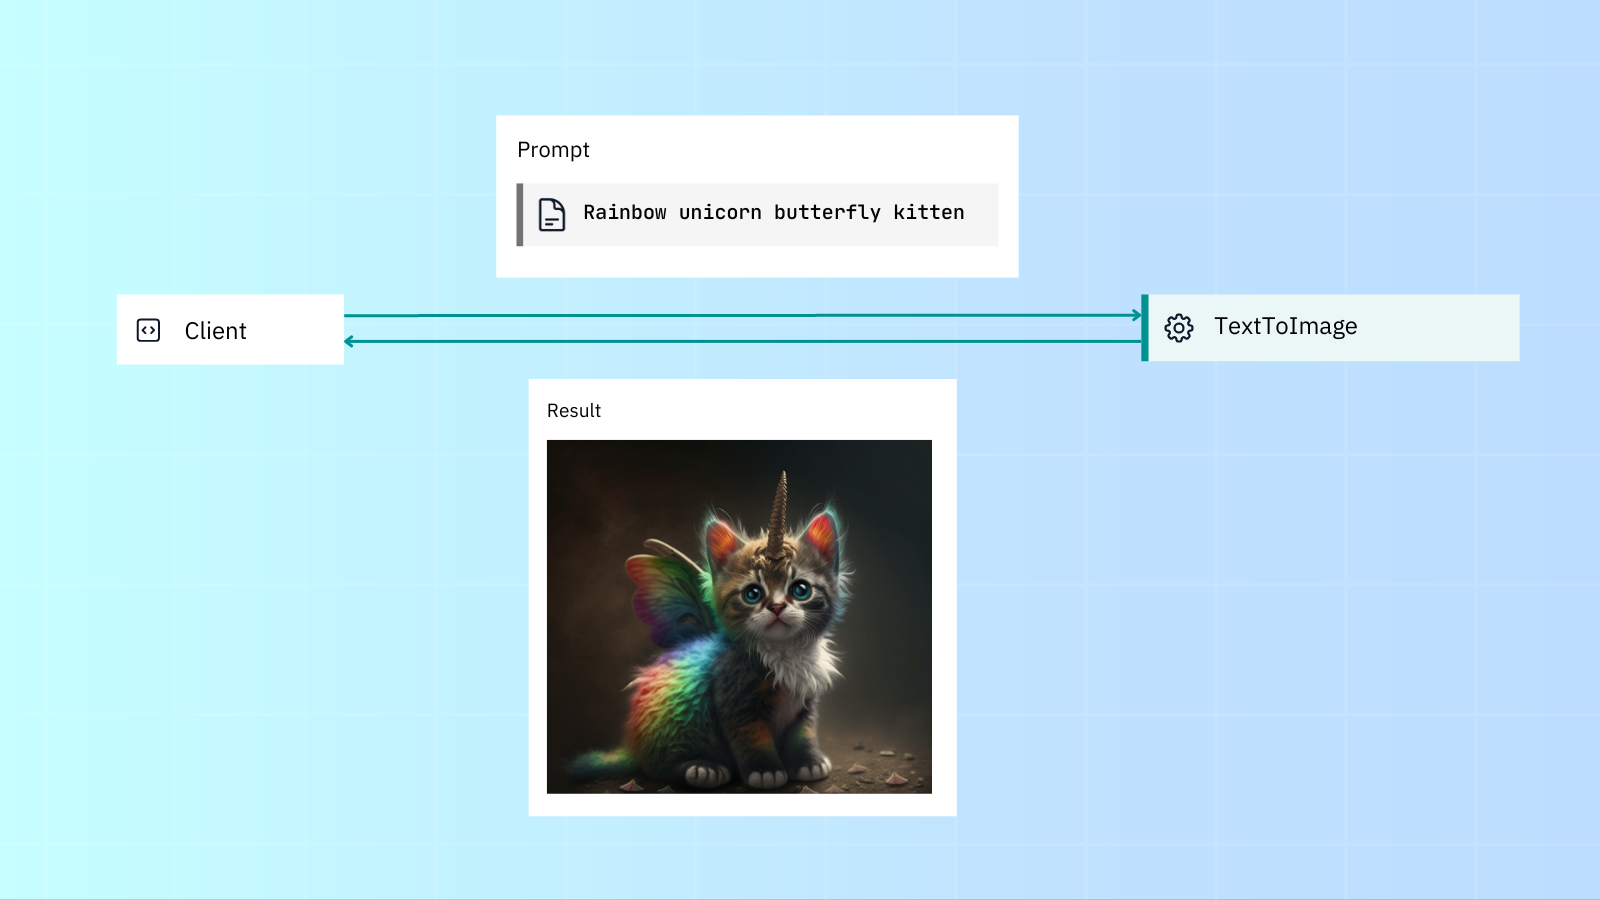
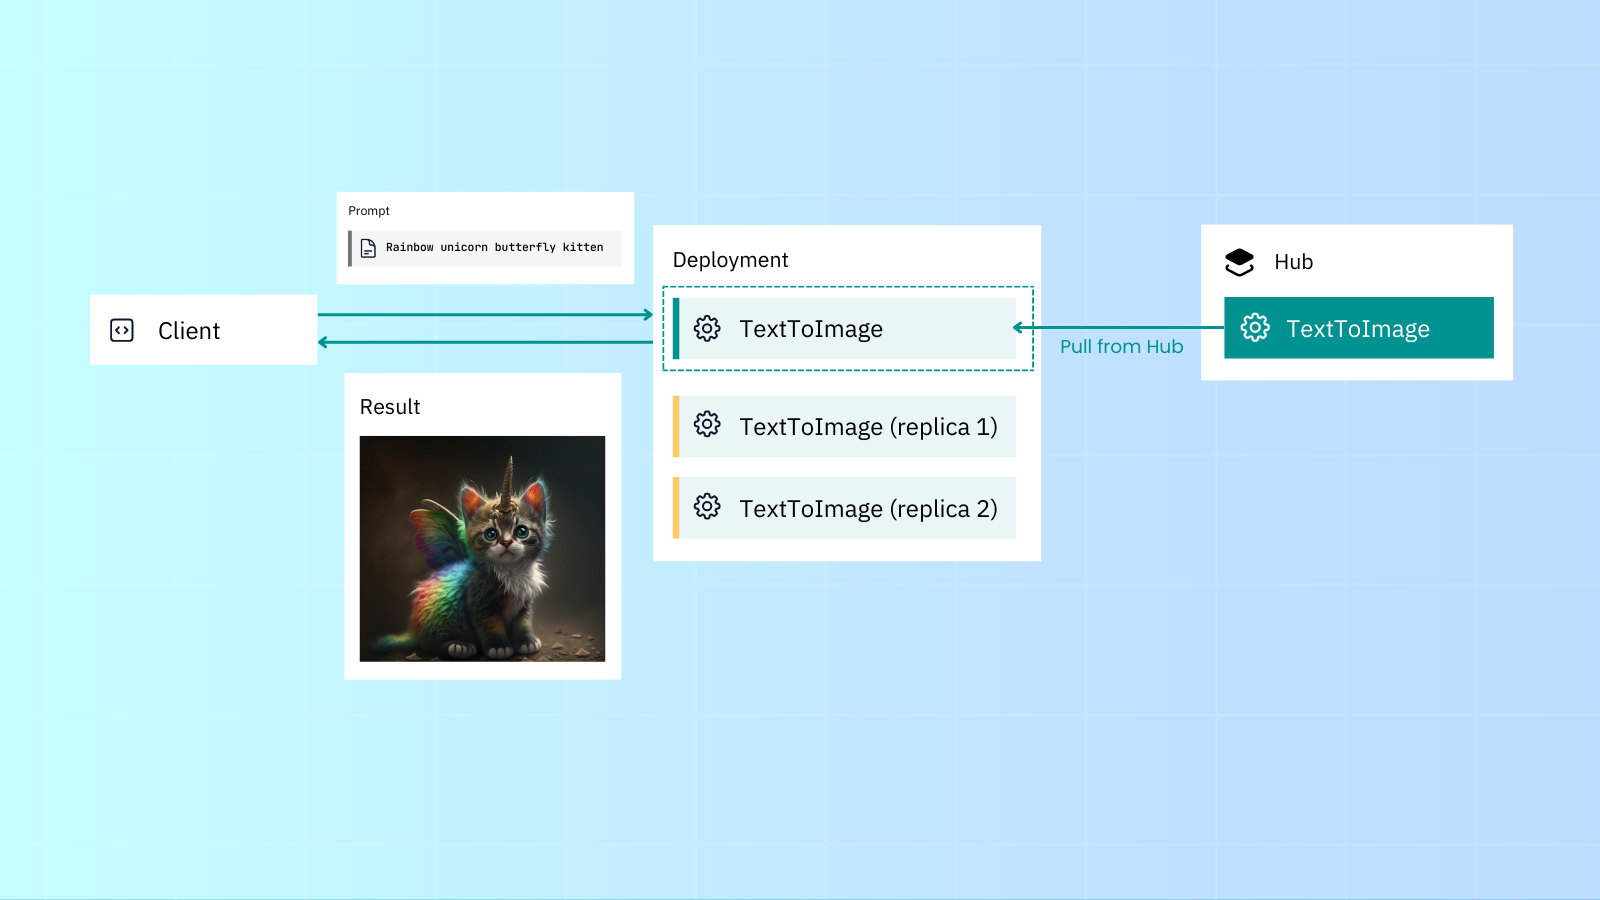
This is roughly how we want our Executor to look. The user passes in a prompt, which the Executor uses to generate an image, then it passes that image back to the user:
Prerequisites
You'll need to install Hugging Face Diffusers
 huggingface
pip install diffusers[torch]Now, let's take a look at the Executor code as a whole, and then go through it section by section:
We'll start by creating text_to_image.py:
from docarray import DocumentArray
from jina import Executor, requests
import numpy as np

class TextToImage(Executor):
    def __init__(self, **kwargs):
        super().__init__(**kwargs)
        import torch
        from diffusers import StableDiffusionPipeline

        self.pipe = StableDiffusionPipeline.from_pretrained(
            "CompVis/stable-diffusion-v1-4", torch_dtype=torch.float16
        ).to("cuda")

    @requests
    def generate_image(self, docs: DocumentArray, **kwargs):
    	# image here is in PIL format
        images = self.pipe(docs.texts).images

        for i, doc in enumerate(docs):
            doc.tensor = np.array(images[i])
Imports
from docarray import DocumentArrayDocuments and DocumentArrays (from the DocArray package) are Jina's native IO format.
from jina import Executor, requestsJina's Executor class and requests decorator - we'll jump into these in the next section.
import numpy as npIn our case, NumPy is specific to this Executor only. We won't really cover it in this article, since we want to keep this as a general overview. (And there’s plenty of information about NumPy out there already).
Executor class
class TextToImage(Executor):
    def __init__(self, **kwargs):
        super().__init__(**kwargs)
        import torch
        from diffusers import StableDiffusionPipeline

        self.pipe = StableDiffusionPipeline.from_pretrained(
            "CompVis/stable-diffusion-v1-4", torch_dtype=torch.float16
        ).to("cuda")
All Executors are created from Jina's Executor class. User-definable parameters are arguments defined in the __init__() method.
Requests decorator
@requests
def generate_image(self, docs: DocumentArray, **kwargs):
    # image here is in PIL format
    images = self.pipe(docs.texts).images

    for i, doc in enumerate(docs):
        doc.tensor = np.array(images[i])
Any Executor methods decorated with @requests can be called via an endpoint when the Executor is run or deployed. Since we're using a bare @requests (rather than say @requests(on='/foo')), the generate_image() method will be called as the default fallback handler for any endpoint.
Deploying our microservice
So, now that we've got our Executor, what's the next step? Deployment of course! With a Deployment you can run and scale up your Executor, adding sharding, replicas and dynamic batching. It's also easy to then deploy with Kubernetes or Docker Compose, which we’ll cover later in this post.

We can deploy our Executor through the Python API or YAML/CLI. We'll keep it simple for now, and add scaling, replicas and more in a later section.
Deploy via Python API
In the file deployment.py:
from jina import Deployment
from text_to_image import TextToImage

with Deployment(uses=TextToImage, timeout_ready=-1, install_requirements=True) as dep:
    dep.block()
And then run with python deployment.py
Deploy via YAML
In deployment.yaml:
jtype: Deployment
with:
  port: 12345
  uses: TextToImage
  py_modules:
    - text_to_image.py # name of the module containing Executor
  timeout_ready: -1
	install_requirements: True
And run the YAML Deployment with the CLI: jina deployment --uses deployment.yml
However you run your Deployment, you'll see this output:
──────────────────────────────────────── 🎉 Deployment is ready to serve! ─────────────────────────────────────────
╭────────────── 🔗 Endpoint ───────────────╮
│  ⛓      Protocol                   GRPC │
│  🏠        Local          0.0.0.0:12345  │
│  🔒      Private      172.28.0.12:12345  │
│  🌍       Public    35.230.97.208:12345  │
╰──────────────────────────────────────────╯
Communicating with our microservice
We can use Jina Client to make requests to our service via gRPC. As before, we deal with Documents as our basic IO format:
In client.py:
from docarray import Document
from jina import Client

image_text = Document(text='rainbow unicorn butterfly kitten')

client = Client(port=12345)  # use port from output above
response = client.post(on='/', inputs=[image_text])

response[0].display()
Running python client.py will give us the kitty of our dreams:

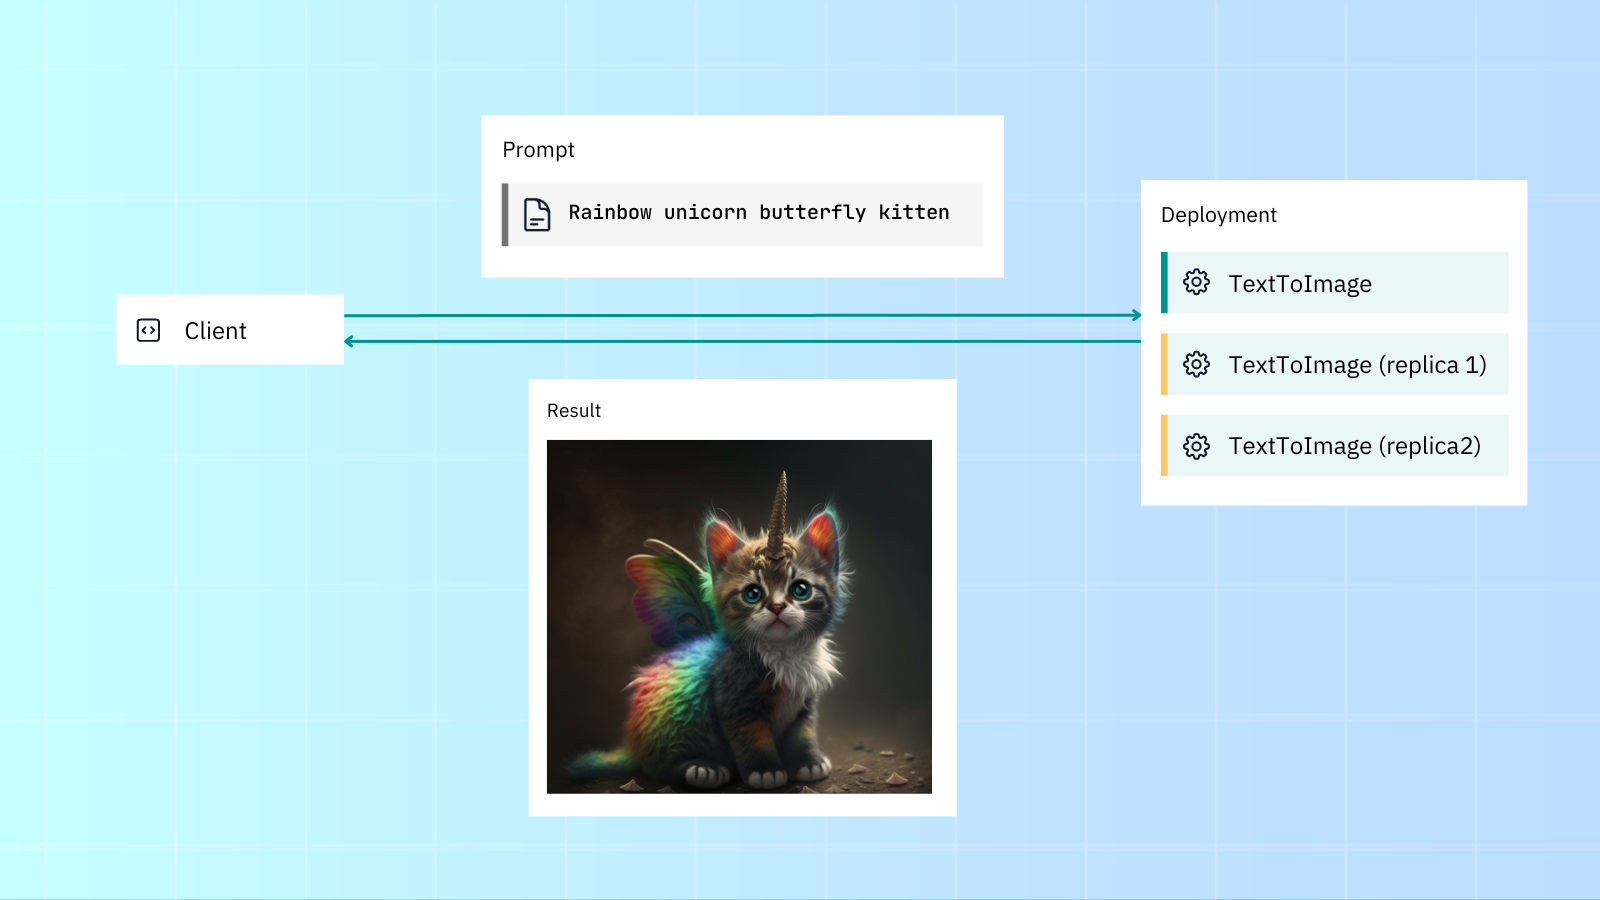
catScaling up our microservice
Jina comes with scalability features out of the box like replicas, shards and dynamic batching. This lets you easily increase your application's throughput.
Let's deploy our Deployment and scale it with replicas and dynamic batching. We'll:
- Create two replicas, with a GPU assigned for each.
- Enable dynamic batching to process incoming parallel requests to the same model.
Here's the Deployment's original (non-scaled) deployment.yml:
jtype: Deployment
with:
  timeout_ready: -1
  uses: jinaai://jina-ai/TextToImage
  install_requirements: true
Now let's scale it up:
jtype: Deployment
with:
  timeout_ready: -1
  uses: jinaai://jina-ai/TextToImage
  install_requirements: true
  env:
   CUDA_VISIBLE_DEVICES: RR
  replicas: 2
  uses_dynamic_batching: # configure dynamic batching
    /default:
      preferred_batch_size: 10
      timeout: 200
As you can see, we've added GPU support (via CUDA_VISIBLE_DEVICES), two replicas (each assigned a GPU) and dynamic batching, which allows requests to be accumulated and batched together before being sent to the Executor.
Assuming your machine has two GPUs, using the scaled Deployment YAML will give better throughput compared to the normal deployment.
Thanks to the YAML syntax, you can inject deployment configurations regardless of Executor code. Of course, all of this is possible via the Python API too.
Kubernetes, Docker Compose and OpenTelemetry
Using Kubernetes with Jina is easy:
jina export kubernetes deployment.yml ./my-k8s
kubectl apply -R -f my-k8s
And so is Docker Compose:
jina export docker-compose deployment.yml docker-compose.yml
docker-compose up
Likewise, tracing and monitoring with OpenTelemetry is straightforward:
from docarray import DocumentArray
from jina import Executor, requests
class Encoder(Executor):
@requests
def encode(self, docs: DocumentArray, **kwargs):
with self.tracer.start_as_current_span(
'encode', context=tracing_context
) as span:
with self.monitor(
'preprocessing_seconds', 'Time preprocessing the requests'
):
docs.tensors = preprocessing(docs)
with self.monitor(
'model_inference_seconds', 'Time doing inference the requests'
):
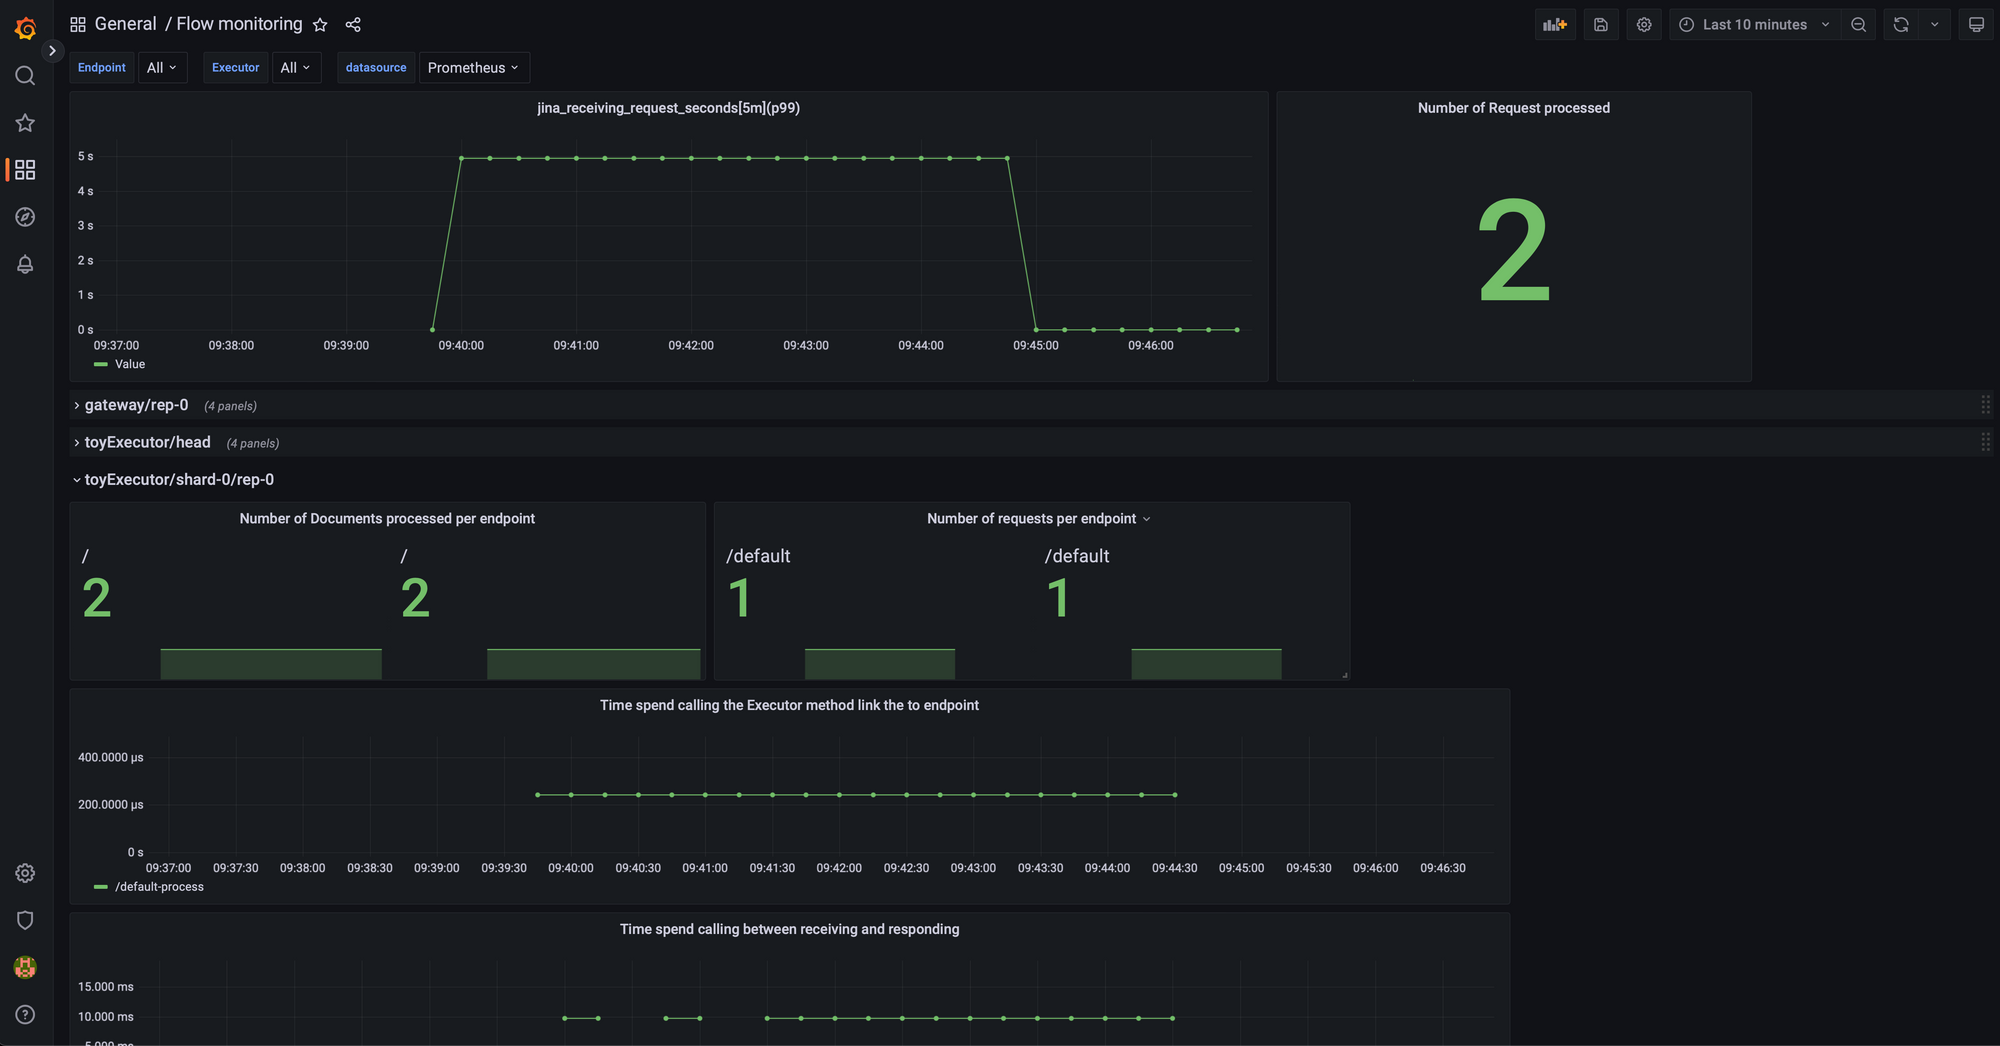
docs.embedding = model_inference(docs.tensors)You can integrate Jaeger or any other distributed tracing tool to collect and visualize request-level and application-level service operation attributes. This helps you analyze the request-response lifecycle, application behavior and performance.
To use Grafana, download this JSON and import it into Grafana:
Share your Executor
Use Executor Hub to share your Executors or use public/private Executors, with little need to worry about dependencies.
To create a Hub-ready Executor:
jina hub newTo push it to Executor Hub:
jina hub push .You can use a Hub Executor in your Deployment via Python:
Deployment(uses='jinaai://jina-ai/TextToImage', install_requirements=True)  # download and run locally
Deployment(uses='jinaai+docker://jina-ai/TextToImage')  # run in Docker container
Deployment(uses='jinaai+sandbox://jina-ai/TextToImage')  # run in hosted sandbox
Or YAML:
uses: jinaai://jina-ai/TextToImage  # download and run locally
install_requirements: true

uses: jinaai+docker://jina-ai/TextToImage  # run in Docker container
uses: jinaai+sandbox://jina-ai/TextToImage  # run in hosted sandbox
Executor Hub manages everything on the backend:
- Automated builds on the cloud
- Store, deploy, and deliver Executors cost-efficiently;
- Automatically resolve version conflicts and dependencies;
- Instant delivery of any Executor via Sandbox without pulling anything to local.
Build your microservice into a pipeline
Sometimes you want to chain microservices together into a pipeline. That's where a Flow comes in. We'll cover building a Flow in more depth in a future post, but for now you can check our README.
Wrapping it up
Just like an Executor and Deployment wraps a microservice or model, we too have to wrap up this article. To summarize what we've covered:
- With Jina you can wrap models into Executors.
- These can then be deployed directly (via a Deployment) or as part of a pipeline (via a Flow).
- Integrating with Kubernetes, Docker Compose and OpenTelemetry is a breeze.
- You can find and share everything easily on Executor Hub.
If you want to dig deeper, check our docs for more info on Executors and Deployments, or look into pipelines with Jina Flows. You can also get in touch on our Slack community.
Keep your eyes on this blog for upcoming posts which will dive into serving multimodal models and LLMs with Jina, the capabilities of generative AI, and lots more.
Bonus kitties
Like all image generation, it took us quite a while to generate our one perfect kitty of loveliness. Here are some of the runners up: